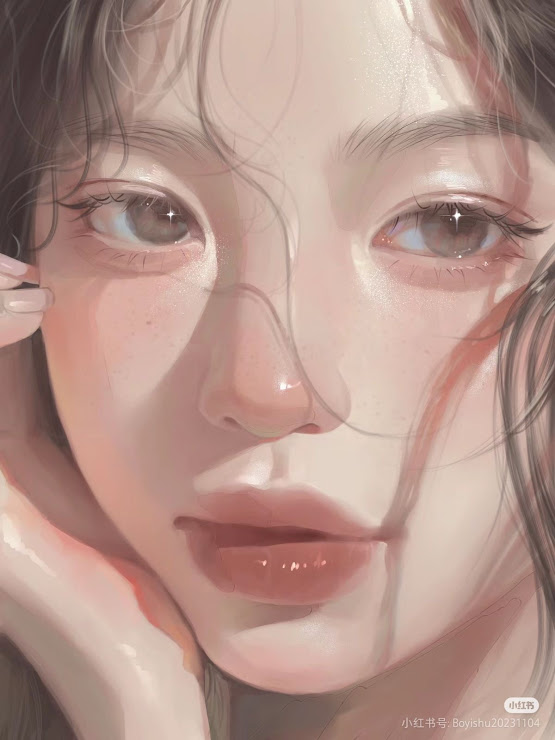
✩Creating Custom brush
Hello everyone! Nai’s here. Today, let’s explore how to create and use custom brushes in Ibis Paint X to add unique textures to your artwork. Custom brushes allow you to achieve special effects like skin textures, hair, or other elements that match your artistic style.
1. Creating a Custom Brush
Steps:
- Select a Base Brush:
- Open Ibis Paint X and create or open your project.
- Tap the brush icon to open the brush menu.
- Choose a brush that you want to use as the base for your custom brush.
- Adjust Brush Parameters:
- Tap the settings icon (gear icon) next to the selected brush.
- Modify parameters such as thickness, opacity, and brush tip shape to your liking.
- To add texture, you can change the brush pattern or add an image as a texture.
- Save as a Custom Brush:
- Once satisfied with the settings, tap the “+” button to add the brush to your custom brushes list.
2. Using Custom Brushes to Add Texture
Example: Adding Skin Texture
- Select the Custom Brush:
- Open the brush menu and choose the custom brush you’ve created for skin texture.
- Apply the Texture:
- On a new layer, use the custom brush to add texture to the desired skin areas.
- Adjust the brush size and opacity as needed to achieve the desired effect.
- Final Adjustments:
- Use the eraser tool with low opacity to smooth out areas that are too prominent.
- You can also use blending modes on the layer to better integrate the texture into your artwork.
3. Importing and Exporting Custom Brushes
Importing Brushes:
- Obtain a QR code or brush file from a trusted source.
- In Ibis Paint X, open the brush menu and tap the import icon.
- Scan the QR code or select the brush file to import it into your app.
Exporting Brushes:
- Select the custom brush you want to share.
- Open the brush settings and choose the export option.
- Save the QR code or brush file and share it with your community.
By following these steps, you can easily create, use, and share custom brushes in Ibis Paint X to add unique textures to your artwork. Happy creating, and may your art become even more expressive!
For a more detailed explanation, you can watch the following tutorial:
https://ibispaint.com/lecture/index.jsp?no=104


