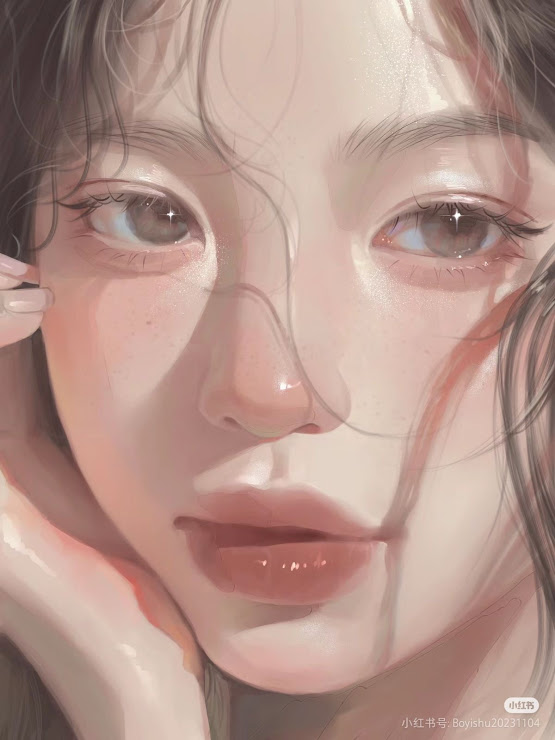
☆ Neon Light Effect
Cr Art : Pinterest
Hello everyone! Nai’s here. Today, let’s explore how to add striking neon light effects to your illustrations using Ibis Paint X, giving them a futuristic touch.
1. Preparing Your Artwork
Before adding neon effects, ensure your base illustration is ready.
Steps:
- Complete the Base Drawing: Finish your line art and base colors.
- Organize Layers: Keep elements you want to enhance with neon effects on separate layers for easier editing.
2. Creating the Neon Effect
Now, let’s add the neon glow to your illustration.
Steps:
- Select the Element:
- Choose the layer containing the part of your illustration you want to apply the neon effect to.
- Duplicate the Layer:
- Duplicate this layer to preserve the original.
- Apply Outer Glow Filter:
- With the duplicated layer selected, go to the Filter menu.
- Choose “Glow (Outer)” from the Style filters.
- Adjust the radius to control the glow’s spread.
- Select a vibrant color for the glow to achieve the neon effect.
- Enhance the Glow (Optional):
- To intensify the neon effect, you can duplicate the glowing layer multiple times.
- Experiment with different blending modes like “Add” or “Screen” to achieve the desired brightness.
3. Refining the Effect
Fine-tune the neon effect to make it more realistic.
Steps:
- Adjust Opacity: Lower the opacity of the glow layers if the effect is too strong.
- Add Highlights: On a new layer, use a soft brush to add subtle highlights around the neon-lit areas to simulate light reflection.
- Color Balance: Ensure the neon color complements the overall color scheme of your illustration.
By following these steps, you can effectively create eye-catching neon light effects in your illustrations using Ibis Paint X. Happy drawing!
For a visual demonstration, you can watch the following tutorial:
https://youtu.be/otqHHxESrAc?si=FFDxohSQANDiY6nq


